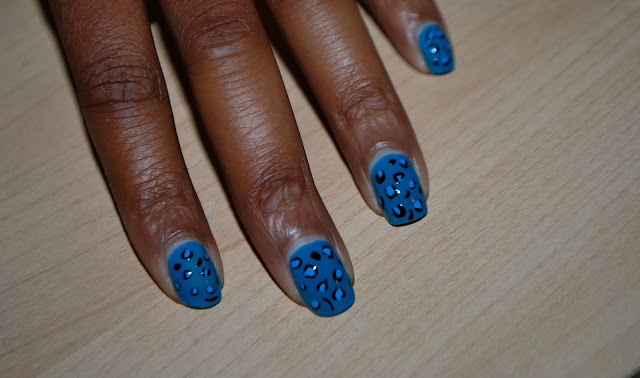
DIY Super Easy Leopard Mani
Looking for something over-the-top? These nail's definitely make a statement, however they can still look chic and polished depending on your color palette. I admit I am not a fan of leopard anything, however after seeing them on a style maven in Whole Foods, I wanted in on the fun.
The good thing about this mani is that it is very forgiving. Leopard spots aren't perfect, which means your nails don't have to be perfect either. If you have trouble keeping your arm steady, let it gently rest on a stack of thick books or any flat, sturdy object! The designs take little to no time to complete, and you can be very creative with the color palette.
To keep the design somewhat subdued, I decided to go with an accent color that was a few shades lighter than my main color. This gives the nail a slight monochromatic feel.
To keep the design somewhat subdued, I decided to go with an accent color that was a few shades lighter than my main color. This gives the nail a slight monochromatic feel.
DIY Fierce Leopard Mani
You Will Need:
Base Coat - I used Essie's protein base coat
Base Color - I used China Glaze Shower Together
Black Striping Polish
Leopard Accent Color - I used OPI No Room For The Blues
Dot tool [you can use an actual dot tool, a toothpick, bobby pin, or paint brush]
Paint your nails with your base lacquer of choice, allow to dry for about 10-15 minutes
With your striping brush outline the edges of your spots, leaving one end open [don't outline the entire area]. Let dry for about 3-5 minutes [After I outlined the dots, I also made random stripes and dots using my striping brush]


Comments
Post a Comment